Are you thinking of visiting New Zealand? Getting your visa in order is the first step in realizing your travel dreams, whether they involve hiking through Fiordland, exploring the glowworm caverns in Waitomo, or just relaxing in Rotorua’s geothermal pools. Everything you need to know will be covered in this guide to visitor visas for New Zealand. Over the years, I have guided dozens of friends and readers through this process, and I have discovered exactly where people get stopped and how to stay clear of those problems. With this comprehensive New Zealand Visitor Visa Guide, I will take you through every step you need to know for a seamless, stress-free 2026 visitor visa application.
Table of Contents
Understanding the New Zealand Visitor Visa
If you’re reading this guide, chances are you hold a passport from a country that requires a full visa to enter New Zealand. This includes travelers from India, China, the Philippines, Indonesia, Thailand, South Africa, Brazil, and many other nations. The Visitor Visa is your ticket to experiencing everything this beautiful country has to offer, from the Bay of Islands in the north to the rugged coastlines of the Catlins in the south.
The Visitor Visa allows you to stay in New Zealand for tourism, visiting friends and family, or short-term study (up to three months). Most first-time visitors are granted between three and six months initially, though the visa can allow stays up to nine months in total. The application process is entirely online, which means you can complete it from the comfort of your home without visiting an embassy or consulate.
What many people don’t realize is that a successful visa application isn’t just about filling forms correctly. It’s about telling a compelling story – that you’re a genuine visitor with strong reasons to return home, sufficient funds to support yourself, and clear plans for your time in New Zealand. Immigration officers review thousands of applications, and the ones that tell this story clearly and convincingly get approved fastest.
Step 1: Check Your Passport Validity Right Now
Before you do anything else, pull out your passport and check the expiration date. This single step trips up more applicants than almost anything else, and it’s completely avoidable.
Your passport must be valid for at least three months after the date you plan to leave New Zealand. If your passport expires within that window, you need to renew it before applying for your visa. There’s no way around this requirement, and applying with a soon-to-expire passport will only result in delays or rejection.

Here’s why this matters practically. When you submit your visa application, Immigration New Zealand will issue a visa that’s valid only until your passport expires. If your passport expires six months after you arrive, your visa will also expire then, regardless of how long you planned to stay. You’d have to leave early or go through an expensive and complicated process to transfer your visa to a new passport.
The smart move is simple. If your passport expires within the next year, renew it now. Yes, it costs money and takes time, but it saves enormous headaches down the road. Once you have your new passport, you can proceed with confidence knowing your visa will be valid for its full duration.
Step 2: Gather Your Documents
The Visitor Visa requires more documentation than the simpler NZeTA, but gathering everything beforehand makes the online application process much smoother. Here’s exactly what you need to prepare:
Your Passport
You’ll need a clear scan of your passport bio page – that’s the page with your photo, name, date of birth, and passport number. If your passport contains any old visas or interesting entry stamps, scan those pages too. While not strictly required, they can help demonstrate your travel history, which works in your favor.
Save everything as PDF files. The online system handles PDFs better than image files, and they’re more professional-looking. Name your files clearly – something like “Passport_Bio_Page.pdf” – so you can find them easily during upload.
Digital Photograph
Your photo must meet strict technical specifications. This isn’t the place to take a quick selfie against your bedroom wall. The requirements exist because immigration systems use automated checks, and photos that don’t meet specifications get rejected automatically.
You need a photo taken within the last six months, with a plain white background. You should be looking directly at the camera with a neutral expression, no smiling, and your mouth closed. No glasses unless you wear them constantly, and no head coverings except for religious reasons.
The file itself must be between 900 x 1200 pixels and 2250 x 3000 pixels, with a 3:4 aspect ratio. This is why using a professional photo service is worth the small cost – they know these requirements and deliver files that work. Many pharmacies and photography shops offer digital passport photos specifically for visa applications.
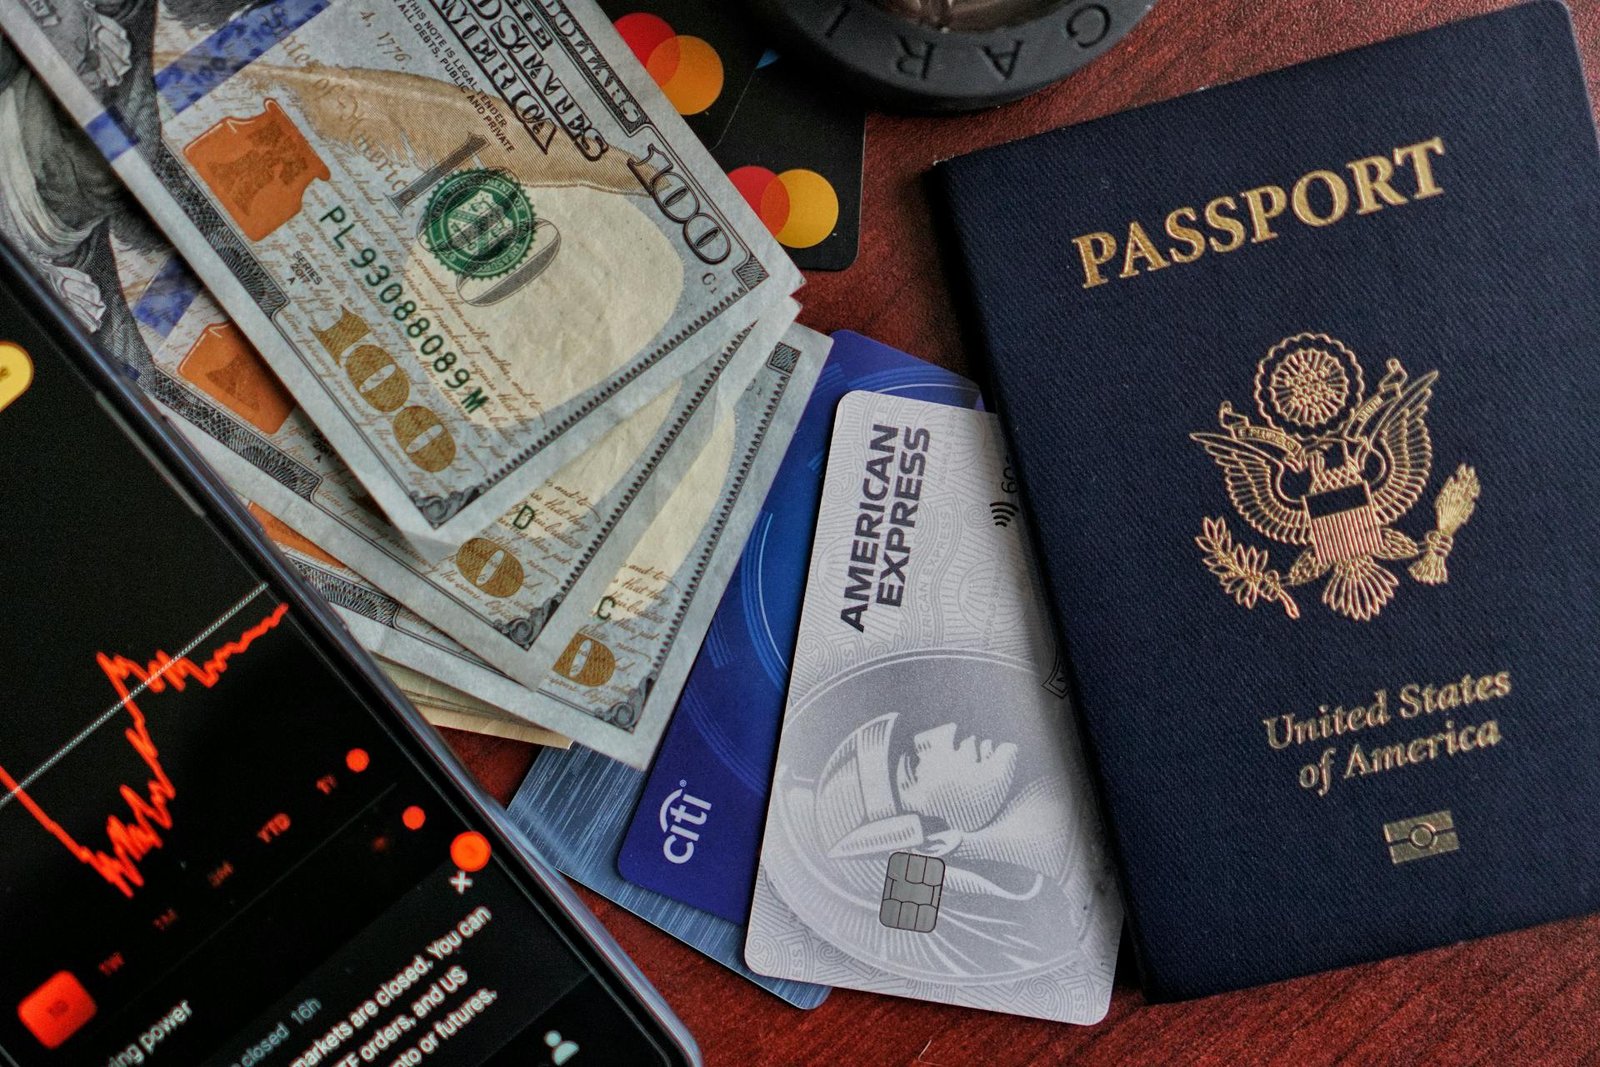
Proof of Sufficient Funds
This is one of the most important parts of your application. You need to demonstrate that you have enough money to support yourself throughout your stay in New Zealand without working illegally.
Immigration New Zealand generally expects you to have at least NZD $1,000 per month of your stay, or NZD $400 per month if your accommodation is already paid for. For a three-month trip, that means either NZD $3,000 in readily available funds, or NZD $1,200 plus proof of prepaid accommodation.
Bank statements from the last three to six months work perfectly for this. They should show your name, the bank’s name and logo, and a clear record of your transactions. If your statements are in a language other than English, you’ll need certified translations.
If someone else is funding your trip – perhaps family members or a sponsor – they’ll need to provide a sponsorship letter along with their bank statements. The letter should state their relationship to you, confirm they’re covering your expenses, and specify the amount they’re providing.
Travel Itinerary
You don’t need fully booked flights and hotels at this stage, and in fact, I advise against booking anything non-refundable before your visa is approved. However, you do need a clear travel plan.
Create a simple document listing the cities you plan to visit and approximate dates. For example: “Arrive Auckland March 15, stay four nights, fly to Queenstown March 19, stay five nights, drive to Te Anau March 24, etc.” This shows immigration officers that you have genuine tourism intentions and have thought about your trip.
If you have hotel bookings that are refundable or allow free cancellation, include them. The same goes for any internal flights you’ve booked within New Zealand. But again, wait until your visa is approved before committing money to non-refundable bookings.
Also read about 10D New Zealand North Island Road Trip Itinerary
Return or Onward Ticket
You need to prove that you’ll leave New Zealand before your visa expires. A booked flight out of the country serves this purpose perfectly. If your travel plans are flexible, book a fully refundable ticket or one that allows free date changes. Several airlines and travel booking sites offer this option, and the peace of mind is worth the slightly higher cost.
Once your visa is approved and your dates are confirmed, you can book your actual flights with confidence. This is where having a good flight booking platform matters – you want options that are reliable and offer good customer service if plans change.
You can search for flexible flights to New Zealand using the widget below. Many airlines serving Auckland, Wellington, and Christchurch offer refundable fare options specifically for visa applicants.
Employment Proof
If you’re employed, include a letter from your employer. This letter should confirm your position, how long you’ve worked there, that you’ve been granted leave for your trip, and that your job will be waiting when you return.
This letter reassures immigration officers that you have strong ties to your home country and reasons to return. The more established your employment, the stronger this evidence becomes. If you’re self-employed, include business registration documents and tax returns showing your ongoing operation.
Additional Documents for Specific Situations
If you’re traveling with children, you’ll need their birth certificates and, if only one parent is traveling, a consent letter from the other parent. This prevents international child abduction and is taken very seriously.
If you’re married and your spouse isn’t traveling with you, include your marriage certificate. This might seem unnecessary, but it helps explain your family situation and ties to home.
Students should provide proof of enrollment at their educational institution, showing that they’re expected back for the next term.
Retirees can provide pension statements or evidence of retirement savings.
The common thread through all of this is demonstrating ties to your home country – employment, family, property, studies, or business interests that give you reasons to return after your New Zealand adventure.
Certified Translations
Here’s an important rule that catches many applicants. All non-English documents must be translated by a certified translation service. You cannot translate documents yourself or have a bilingual friend do it. The translation must include the translator’s credentials and certification, verifying its accuracy.
This applies to bank statements, employment letters, birth certificates, marriage certificates – any document not originally in English. Factor both the cost and time for translations into your planning. A good translation service can handle this quickly, but you need to know about the requirement in advance.
You can arrange certified translation services through providers that specialize in visa documentation. They understand exactly what immigration officers need and deliver files that meet requirements.
Indonesian national can read more about New Zealand Visa services here
Step 3: Complete Your Online Application
The Visitor Visa application happens entirely online through the Immigration New Zealand website. The process is designed to be accessible, but taking it step by step prevents mistakes.
Create Your RealMe Account
First, you need a RealMe account. This is the New Zealand government’s secure login system used for various online services. Creating an account is free and takes about five minutes. You’ll need a working email address and will choose a username and password.
Keep your login details somewhere safe – you’ll need them to track your application and access your approved visa.
Start Your Application
Once logged in to RealMe, navigate to the Visitor Visa application. The system saves your progress automatically, which is helpful because you’ll likely need to complete the form over multiple sessions.
The application asks for:
- Personal information (name, date of birth, place of birth, nationality)
- Passport details
- Contact information
- Travel history (they want to know where you’ve traveled in the last five years)
- Health and character declarations
- Details about your planned visit to New Zealand
- Information about your employment and ties to home
Take your time with each section. Read questions carefully and answer honestly. If you’re unsure about something, it’s better to take a break and research than to guess and get it wrong.
Upload Your Documents
After completing the form, you’ll upload all your supporting documents. The system accepts PDF files for most documents, with photos in JPEG or PNG format.
Upload files in the order suggested by the system, and name them clearly so you can verify everything is included. Before finalizing, review your document list against the requirements to ensure nothing is missing.
Pay the Fee
The Visitor Visa application fee is approximately NZD $341 for most applicants. This fee is non-refundable, even if your application is declined, which is another reason to ensure everything is correct before submitting.
You’ll also pay the International Visitor Conservation and Tourism Levy (IVL) of NZD $35. This separate charge funds tourism infrastructure and conservation projects throughout New Zealand. Every visitor pays it, whether on a Visitor Visa or NZeTA.
Pay by credit card through the secure payment system. You’ll receive an email confirmation with a reference number you can use to track your application.
Book Your Accommodation (Refundable Options)
While you’re waiting for your visa decision, you can start researching where you’ll stay. Having accommodation options in mind actually helps with your planning once approval comes through. New Zealand offers everything from luxury hotels and apartment-style accommodations to budget-friendly hostels and holiday parks.
Many booking platforms offer free cancellation up to a certain date, which is perfect for the visa waiting period. You can reserve rooms now and cancel if your travel dates shift or if – hopefully not – your visa takes longer than expected.
Klook.comStep 4: Wait and Track Your Application
This is the hardest part for most people – the waiting. Processing times vary significantly based on where you apply from and the time of year.
For Visitor Visas, about 75 percent of applications are processed within 18 working days, and 95 percent within 24 working days. However, during peak periods like November through February, processing can slow considerably. I’ve seen applications take six to eight weeks during the Christmas holiday season.
You can track your application through your RealMe account. The status updates as your application moves through the system – received, under assessment, approved. Immigration New Zealand will contact you by email if they need more information. Check your spam folder regularly because these emails can sometimes get filtered out.
If they request additional information, respond as quickly as possible with exactly what they’ve asked for. This keeps your application moving and demonstrates your responsiveness.
What to Do While You Wait
The waiting period is actually a great time to plan your trip in detail. Research the places you want to visit, understand New Zealand’s seasons and weather patterns, and start building a realistic budget.
You can also look into travel insurance. While not mandatory for the visa application, insurance is strongly recommended for all visitors. New Zealand’s healthcare system charges international visitors for medical treatment, and a good insurance policy protects you from potentially massive bills if you get sick or injured. Adventure activities like bungee jumping, skiing, and hiking carry inherent risks, and insurance that covers these activities provides peace of mind.
Step 5: Receive Your Visa and Check Everything
When your application is approved, you’ll receive an email with your visa attached as a PDF. Download this immediately and save it somewhere safe – on your phone, in cloud storage, emailed to yourself. You’ll need to show this visa when you check in for your flight and possibly at immigration on arrival.
Open the PDF and check every detail against your passport:
- Your full name must match your passport exactly, including any middle names
- Your passport number must be correct – a single digit off invalidates the visa
- Your date of birth must be accurate
- The visa validity dates must cover your planned stay
- The number of entries permitted matches your plans (usually multiple entry)
- Any conditions are clear and understandable
If anything is incorrect, contact Immigration New Zealand immediately through the contact details in your approval email. Most errors can be corrected quickly if you report them within a few days.
Print a physical copy of your visa to carry with your passport. While New Zealand immigration can access your visa electronically, having a paper copy provides backup if systems are down or you’re asked to show it.
Step 6: Book Your Flights and Accommodation
Now that your visa is approved, you can book everything with confidence. This is the fun part – turning your planned itinerary into confirmed bookings.
Booking Your Flights
New Zealand is served by three main international airports: Auckland in the north, Wellington in the center, and Christchurch in the south. Most international flights arrive in Auckland, which is the country’s largest city and main transport hub. From there, you can catch domestic flights to other destinations or start your road trip.
When booking flights, consider:
- Which city you want to start your journey in
- Whether you want an open-jaw ticket (fly into Auckland, depart from Christchurch)
- How much time you need between international and domestic connections
- Baggage allowances – domestic flights within New Zealand often have stricter limits than international carriers
The best flight deals often appear when you book 6-8 weeks before travel, though this varies by season and destination. Use the flight widget to compare options across multiple airlines and find the best combination of price and schedule.
Securing Your Accommodation
New Zealand offers accommodation for every budget and travel style. In cities like Auckland, Wellington, and Christchurch, you’ll find everything from international hotel chains to boutique properties and apartment-style accommodations. In tourist towns like Queenstown, Rotorua, and Te Anau, book well in advance during peak seasons.
Hotels range from budget-friendly chains to luxury properties with lake or mountain views. Many offer convenient locations in city centers or near major attractions.
Apartments and self-catering accommodation are excellent for longer stays or if you want to save money by preparing some meals yourself. Having a kitchen and laundry facilities makes a big difference on extended trips.
Motels are everywhere in New Zealand, particularly in smaller towns. They typically offer off-street parking and are perfect for road trips where you’re moving locations every few days.
Holiday parks and hostels provide budget options with shared facilities. Many holiday parks offer cabins with private bathrooms as a mid-range option.
When booking, pay attention to cancellation policies. Even with your visa approved, plans can change. Properties offering free cancellation up to 24 or 48 hours before check-in provide flexibility worth the slightly higher rate.
[HOTEL WIDGET PLACEMENT – Search accommodation throughout New Zealand with free cancellation options]
Step 7: Complete the New Zealand Traveller Declaration
This step is mandatory for everyone entering New Zealand. The New Zealand Traveller Declaration replaced the old paper arrival cards and must be completed before you travel.
The declaration is completely free and available online or through the NZTD app. You can submit it starting 24 hours before your departure. It covers basic information about your travel plans, what you’re bringing into the country, and your health status.
You’ll need:
- Your passport
- Your flight details
- Information about any items you’re bringing that need declaration
- Contact details in New Zealand
Once submitted, the declaration is linked electronically to your passport. You don’t need to print anything, though taking a screenshot of the confirmation isn’t a bad idea.
Don’t skip this step. Airlines may check that you’ve completed it before allowing you to board, and you’ll definitely be asked about it on arrival. Completing it in advance saves time at the airport and reduces stress.
Step 8: Prepare for Biosecurity and Customs
New Zealand’s biosecurity laws are among the strictest in the world, and for good reason. The country’s isolated ecosystem is vulnerable to pests and diseases that could devastate agriculture and native species. The fines for breaking these laws are severe – up to NZD $100,000 or even prison time.
Before you pack, understand what you must declare:
All food items – Even packaged snacks, tea, coffee, and spices must be declared. Fresh food is generally prohibited entirely.
Outdoor equipment – Hiking boots, tents, camping gear, fishing equipment, and golf clubs must be clean and may need inspection. Mud or soil on equipment is a red flag.
Animal products – Anything made from animal materials, including wool, leather, bones, or feathers.
Plant materials – Wooden items, seeds, dried flowers, or anything that could contain plant matter.
Biological specimens – Any items of biological origin.
The rule is simple: if you’re unsure, declare it. Biosecurity officers would rather check something harmless than discover something you should have declared. Being honest about your items, even if you made a mistake, results in much better outcomes than trying to hide things.
Some specific warnings for 2026 travel:
Travelers from Indonesia and parts of Europe face additional scrutiny on footwear due to foot-and-mouth disease concerns. Clean your shoes thoroughly before traveling, especially if you’ve visited farms or rural areas. Consider packing shoes that have never been worn on farms.
Meat products from Germany and certain other European countries are currently prohibited entirely due to disease outbreaks. Don’t bring any, even if they’re commercially packaged.
On arrival, you’ll go through passport control, collect your bags, then proceed to biosecurity screening. Have your passport and printed visa ready. Answer questions honestly and follow officers’ instructions. They’re professional and helpful – they’re not trying to catch you out, they’re protecting their country.
Common Mistakes That Delay or Derail Applications
I’ve seen too many trips delayed by avoidable errors. Learn from others’ mistakes:
Applying too close to travel is the most common error. Even with straightforward applications, processing can take weeks. Apply at least three months before your planned departure.
Booking flights before visa approval creates enormous stress. Wait until your visa is approved before spending money on non-refundable flights.
Incorrect passport numbers invalidate applications. Double-check every digit before submitting.
Insufficient funds evidence gets applications declined. Show clear, recent bank statements with enough money for your entire stay. If your statements show large deposits just before applying, include an explanation.
Missing documents during peak season often result in immediate refusal rather than requests for more information. Immigration officers are overwhelmed during busy periods and may simply decline incomplete applications rather than correspond.
Poor quality scans cause delays. All documents must be clearly readable. Take time to produce good scans. If your scanner produces unclear results, use a scanning app on your phone in good lighting.
Photo requirements are strict for a reason. Photos that don’t meet specifications get rejected automatically. Use a professional service.
Not translating documents leads to refusal. All non-English documents must have certified translations. This isn’t optional.
Inconsistent information raises red flags. Ensure your application form, supporting documents, and travel itinerary all tell the same story.
Understanding Costs for 2026
Here’s what you’ll actually pay, in New Zealand dollars:
| Item | Cost |
|---|---|
| Visitor Visa application fee | From $341 |
| International Visitor Levy (IVL) | $35 |
| Certified translation services (if needed) | From $350 |
| Travel insurance (recommended) | From $100-300 depending on coverage |
| Flights (international, varies by origin) | $800-2000+ |
| Accommodation (per night, budget to luxury) | $80-400+ |
These fees are accurate for 2026, but always check the official Immigration New Zealand website before applying because fees can change. The Visitor Visa fee increased substantially in late 2024, so older online information may show lower amounts that are no longer valid.
When budgeting for your trip, remember that having your visa approved is just the first step. Flights, accommodation, activities, food, transport, and incidentals all add up. A realistic daily budget for a mid-range trip is around NZD $200-300 per person, excluding flights.
Final Thoughts
Getting your New Zealand Visitor Visa doesn’t have to be stressful. Break it down into steps, start early, and give yourself plenty of time. The application process exists to verify that genuine tourists can visit safely, and thousands of people navigate it successfully every week.
The reward for getting through the paperwork is extraordinary. You’ll stand beneath some of the clearest night skies on earth at a Dark Sky Reserve. You’ll hike through landscapes that look like they belong in movies – because many of them actually do. You’ll cruise through Milford Sound with waterfalls cascoding down cliffs into the sea. You’ll experience a culture that welcomes visitors with genuine warmth and manaakitanga – care and hospitality.
New Zealand lives up to every expectation and then surprises you with more. The mountains are taller, the lakes are bluer, the people are friendlier, and the food is fresher than you imagined. Every kilometer you drive reveals another view that stops you in your tracks.
Start your application today. Check your passport, gather your documents, and complete that online form. The Land of the Long White Cloud is waiting, and with your visa approved, you’re one step closer to experiencing it for yourself.
Affiliate Disclosure: This guide contains affiliate links. If you book flights, hotels, insurance, or translation services through them, I may earn a small commission at absolutely no extra cost to you. This helps keep this resource free and regularly updated. Thank you for your support.